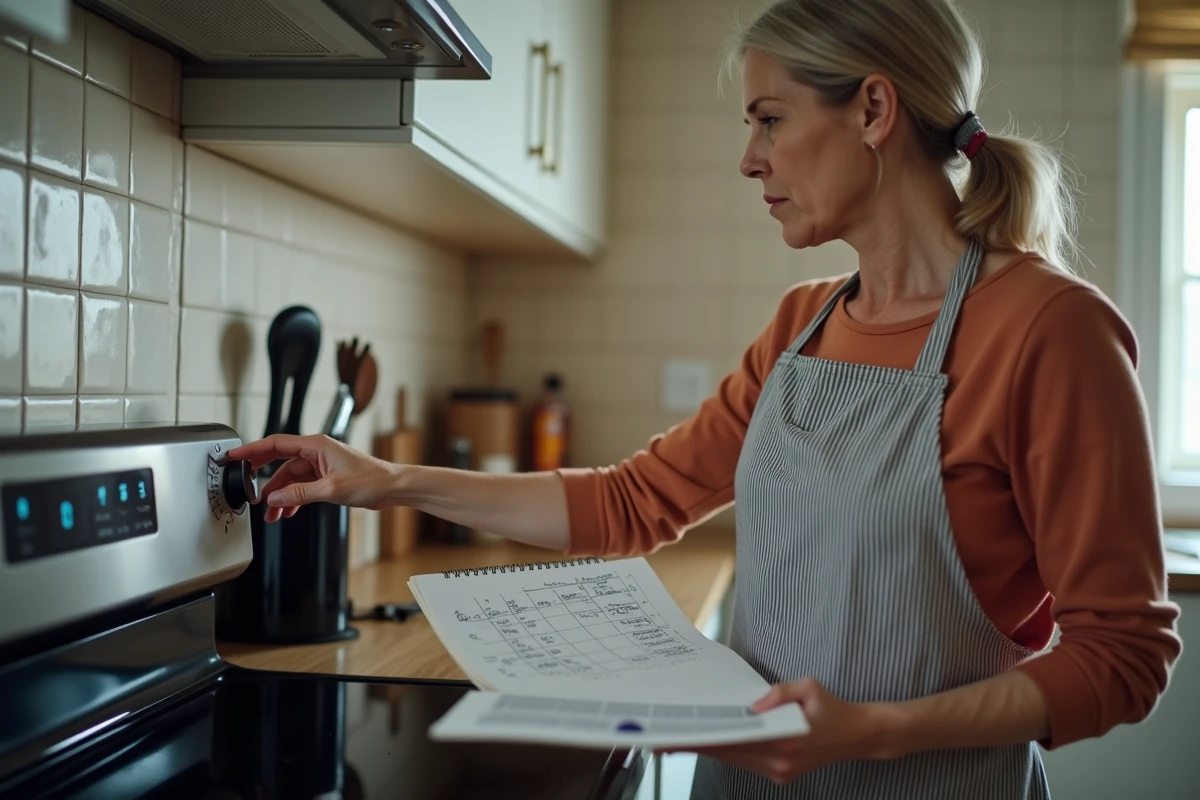
The graduation of oven thermostats does not always correspond to a universal logic. In France, number 1 does not mean the same temperature as on some foreign models, and the transition from level 2 to 3 does not systematically follow a regular degree gap.
There are also differences between older and newer devices, which complicates direct conversion to degrees Celsius. Knowing the exact equivalents helps avoid cooking errors and approximations.
What do thermostat positions 1, 2, and 3 really correspond to on your oven?
Finding the correspondence between thermostat 1 2 3 and degrees ensures that you no longer improvise the temperature of a delicate dish. Manufacturers have never imposed uniformity: each oven displays its own markers, sometimes mysterious. However, many devices in France share a common base. For most, thermostat 1 corresponds to a temperature between 30 and 40°C. This low setting is rarely used for cooking, but it is valuable for proofing dough or drying ingredients. With thermostat 2, we rise to around 60°C: a gentle heat, perfect for keeping warm or handling delicate preparations. Thermostat 3 reaches about 90°C, ideal for slow cooking: meringues, baked eggs, dishes that cannot tolerate haste.
The conversion of thermostat positions to degrees is not set in stone: each brand, each generation of devices, sometimes shows some discrepancies. To avoid guesswork, the page ‘Thermostat 1, 2 and 3 in degrees: equivalence – Beynat’ offers a reliable basis for most home cooking models. Relying on this type of resource saves you from rough estimates and allows you to adjust your recipes without approximation.
To clarify these markers, here are the useful equivalents to keep on hand:
- Thermostat 1: 30 to 40°C
- Thermostat 2: 60°C
- Thermostat 3: 90°C
Match your actions to the thermostat number and the actual temperature: this is where the success of a perfect texture or preserved flavor lies. A small deviation, and the dough rises poorly, the meringue collapses, the simmered dish dries out. Better to take a few seconds to consult the markers than to end up with a failed cooking.
Practical table: the equivalents between thermostats and degrees to succeed in your recipes
The ability to juggle between thermostat degree Celsius conversion and French recipe indications makes a difference when moving from a cookbook to a digital oven. Many recipes still indicate the thermostat while modern devices display degrees directly. This coexistence of systems requires clarity on the equivalents, especially for sensitive preparations.
To serve as a reference, here is a table developed from data collected from manufacturers and kitchen experiments: a valuable tool for adjusting the cooking of cakes, yeast doughs, or gratins.
| Thermostat | Temperature (°C) | Recommended use |
|---|---|---|
| 1 | 30 to 40 | Dough proofing, dehydration |
| 2 | 60 | Keeping warm, gentle cooking |
| 3 | 90 | Meringues, baked eggs |
Always set the cooking temperature according to the recipe: a medium oven generally starts at thermostat 5, but the first three levels remain crucial for gentle cooking and fragile dishes. This table helps you adjust the heat precisely and reduce discrepancies caused by random graduations.
By applying this thermostat degree conversion, results gain consistency and regularity. No more overly dry cakes or barely risen dough: it becomes easier to transpose traditional recipes onto a modern oven without betraying the spirit of the original cuisine.

Easily adapt your cooking with a few simple and reliable tips
To achieve a gentle cooking, finely adjusting the oven temperature is essential, especially when using positions 1, 2, or 3. Appliance manuals often remain vague, leaving room for doubt. However, some practical markers allow for consistency: whether aiming for a puffed dough, dried fruits, or slow cooking in a clay dish, the method makes the difference.
A mechanical oven thermometer placed inside gives the actual temperature, often different from what is displayed on the dial: the difference can reach 15 to 20 degrees. Adjust the thermostat position according to the observed result, especially during the first attempts for precise dishes.
Here are some concrete tips to go further in mastering:
- Thermostat 1: perfect for dough proofing and dehydration.
- Thermostat 2: to be favored for keeping warm or gently simmering.
- Thermostat 3: ideal for meringues and all slow cooking.
Use convection heat for even cooking, especially on low settings. Prefer thick or clay molds to stabilize the temperature rise and diffuse heat slowly. For bread, place a container of water in the oven: the crust will be more even. Gradually adjust the temperature, note your results, and adjust each setting to the dish being prepared. Here, consistency relies as much on observation as on the tool: far from gadgets, it is rigor that pays off.
Mastering the thermostat-degree equivalents gives you the luxury of stress-free cooking, where each recipe finds its ideal temperature, and each oven its proper measure.